In this FAQ, we provide detailed instructions for the following setups:
3. Locate Your Stripe Account ID
4. Create a GEM-CARD GL Account in Accounting
5. Connect the Stripe Account to GEM-CAR
6. Enable Remote Payments for All Clients
8. Convert the Deposit to Accounts Receivable
9. Generate and Send the Invoice to the Client
1. Configure in GEM-CAR
Before starting, launch the Stripe integration directly from GEM-CAR. This creates the link between your GEM-CAR account and Stripe. Click on Configurations > Configurations.
Then click on API > Merchant Accounts > Start invoicing with Stripe in under an hour.
2. Register on Stripe
Stripe will redirect you to its onboarding process. The client must provide the following information:
- Name and type of business
- Contact information
- Bank account details (for payments)
- Identity verification
- Quebec Enterprise Number (NEQ)
Approval is usually quick (a few minutes). Wait for confirmation before proceeding.
3. Locate Your Stripe Account ID
Once the account is approved, you need to find and copy your unique Stripe Account ID. This ID is essential for connecting to GEM-CAR. The ID format is: acct_1AbCdEfGhIjKlMnOp (starts with acct_). There are two ways to find it:
- Option A: Stripe Dashboard — visible at the top of the page
- Option B: click on Settings > Personal details.
Then copy the Account ID or click the Copy ID button at the top right of the page.
4. Create a GEM-CARD GL Account in Accounting
Click on Accounting > Chart of Accounts > +Add.
Enter the following information:
- Code
- Name
- Category: Asset / Liability / Equity
- Sub-category: Current Asset
Check the option: This account is used for payments/receipts
Do not check the following option: This account is taxable
Click Save.
5. Connect the Stripe Account to GEM-CAR
Click on Settings > Configurations.
Then click on API > Merchant Accounts > +New.
Enter the following data:
- Processor (Stripe Connect)
- Account used for payments (GEM-CARD account)
- Account number (Stripe Account ID)
Click Save and Close.
Make sure the option “Do not put payment button on invoice emails” is disabled.
6. Enable Remote Payments for All Clients
You need to allow your client to pay by card remotely via accounts receivable. Click on Sales > Configurations > Configurations.
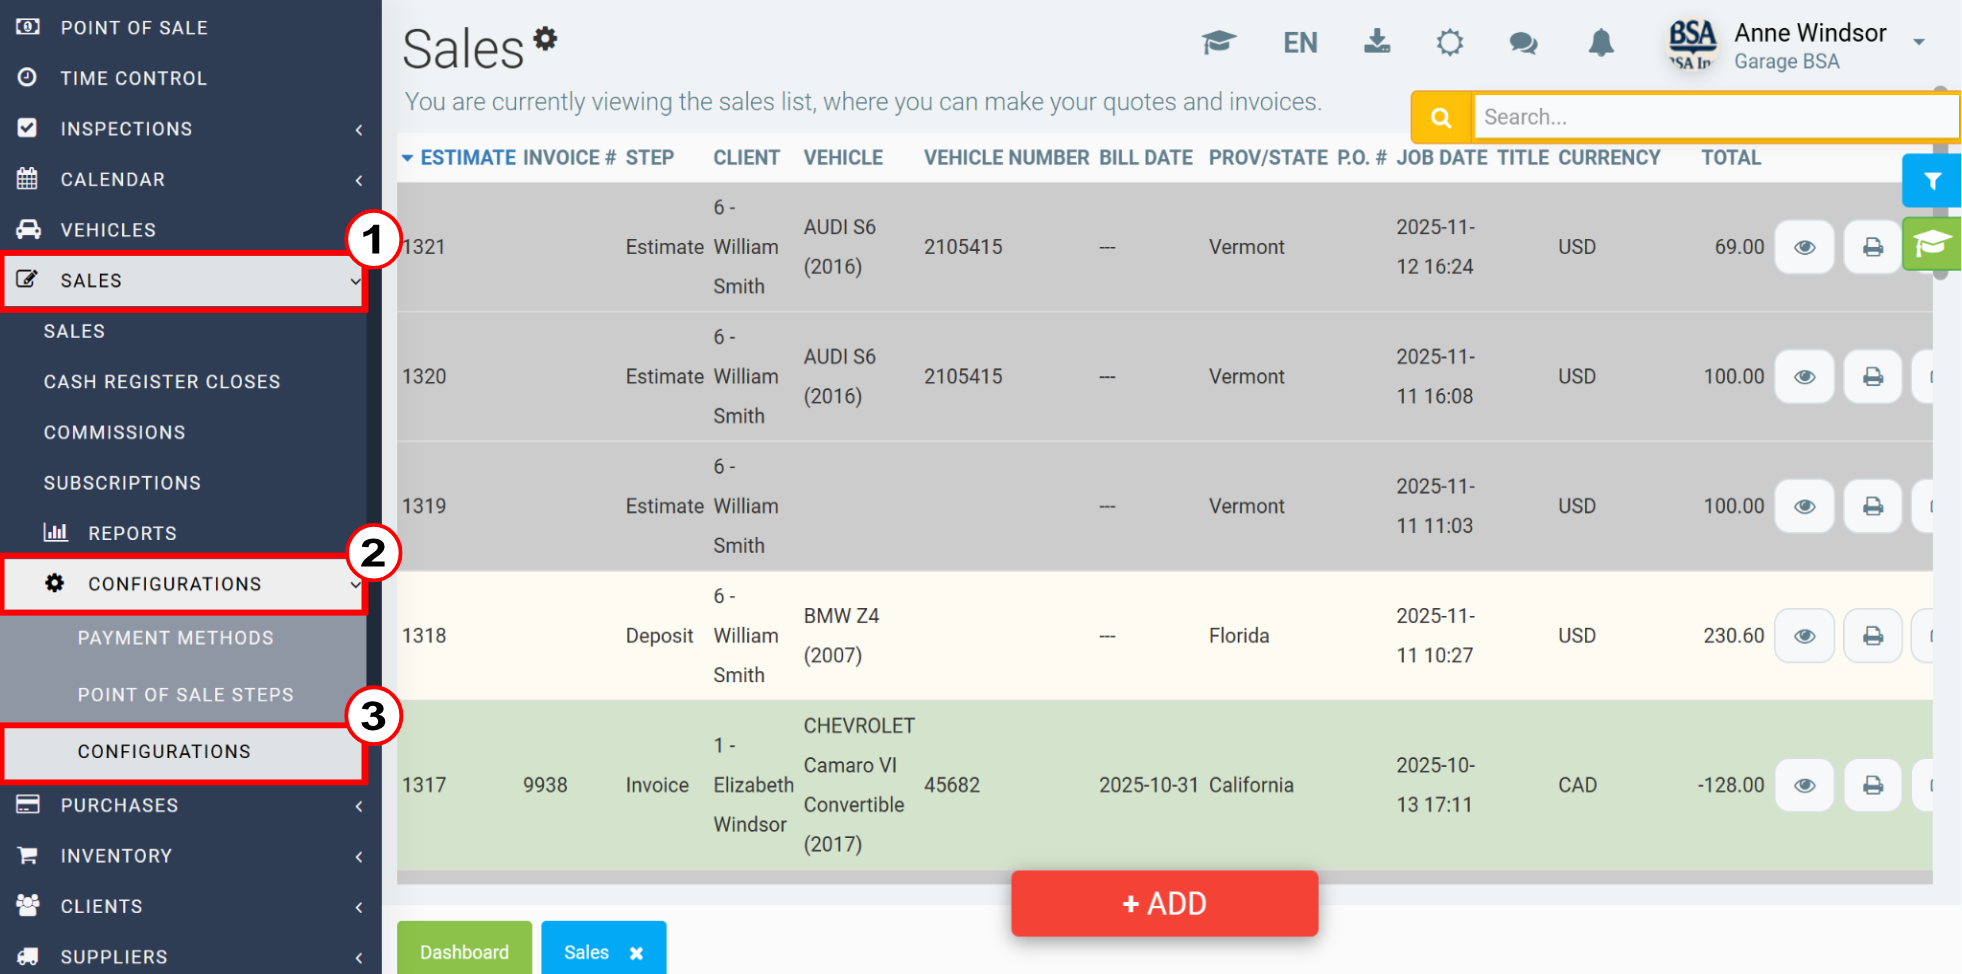
In the Sales tab, check the option “Allow all customers to pay by receivable (except the counter customer).” Click Save.
7. Add a Deposit to a Sale
In the Point of Sale, after selecting the client, products, and services, choose to add a deposit to your sale. To add a deposit, right-click on one of the products or services and select the Add Deposit option. You will have the options with or without taxes. Process the payment by following the steps indicated in your GEM-CAR.
8. Convert the Deposit to Accounts Receivable
Once the deposit is created, an invoice will appear with the amount. You now need to convert this deposit to accounts receivable to send it to the client. Click on the deposit then on Payment.
In the Payment, select the option Receivables. Click Send.
9. Generate and Send the Invoice to the Client
The generated invoice will be available in the Documents tab of the Point of Sale. You can send the invoice for online payment via SMS or email.
Comments
Please sign in to leave a comment.